
This is bound to be a pretty nerdy post. But if you are interested in this type of repair, there is lots to see.
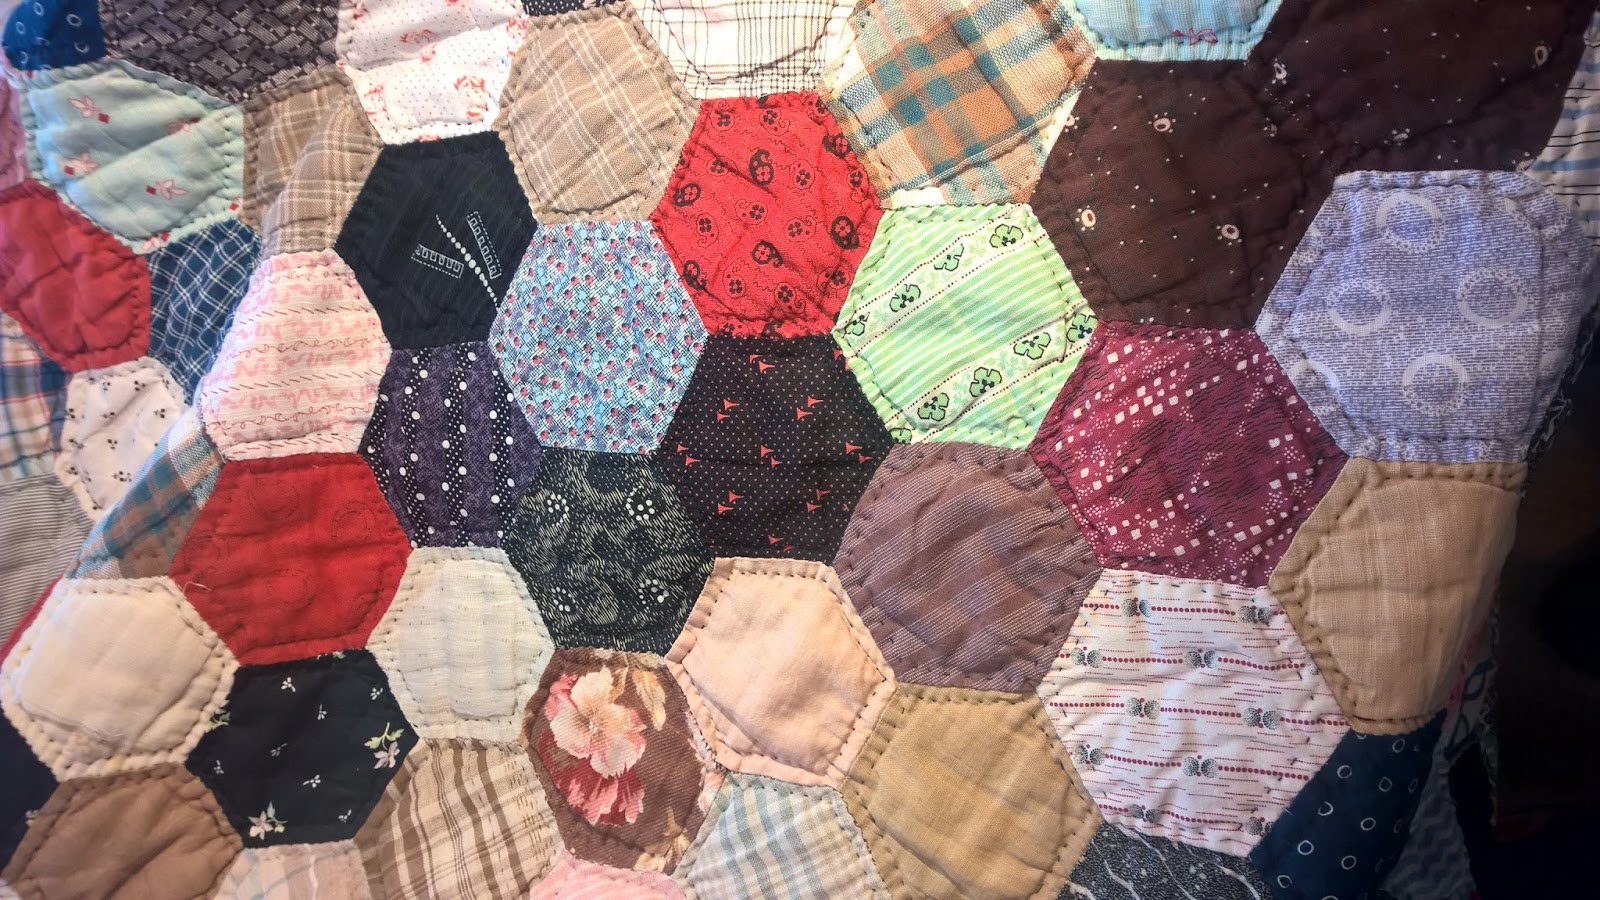
This seems to be roughly made in the 1920's, a one-patch hexagon quilt. There are a lot of older than that fabrics in it, like late 1800's, possibly earlier, but who among us doesn't often have their mom's or grandmother's scraps in their stash?!
It was very lightly soiled, which I was not tasked to correct. My job was simply to repair the several ripped or shattered patches.
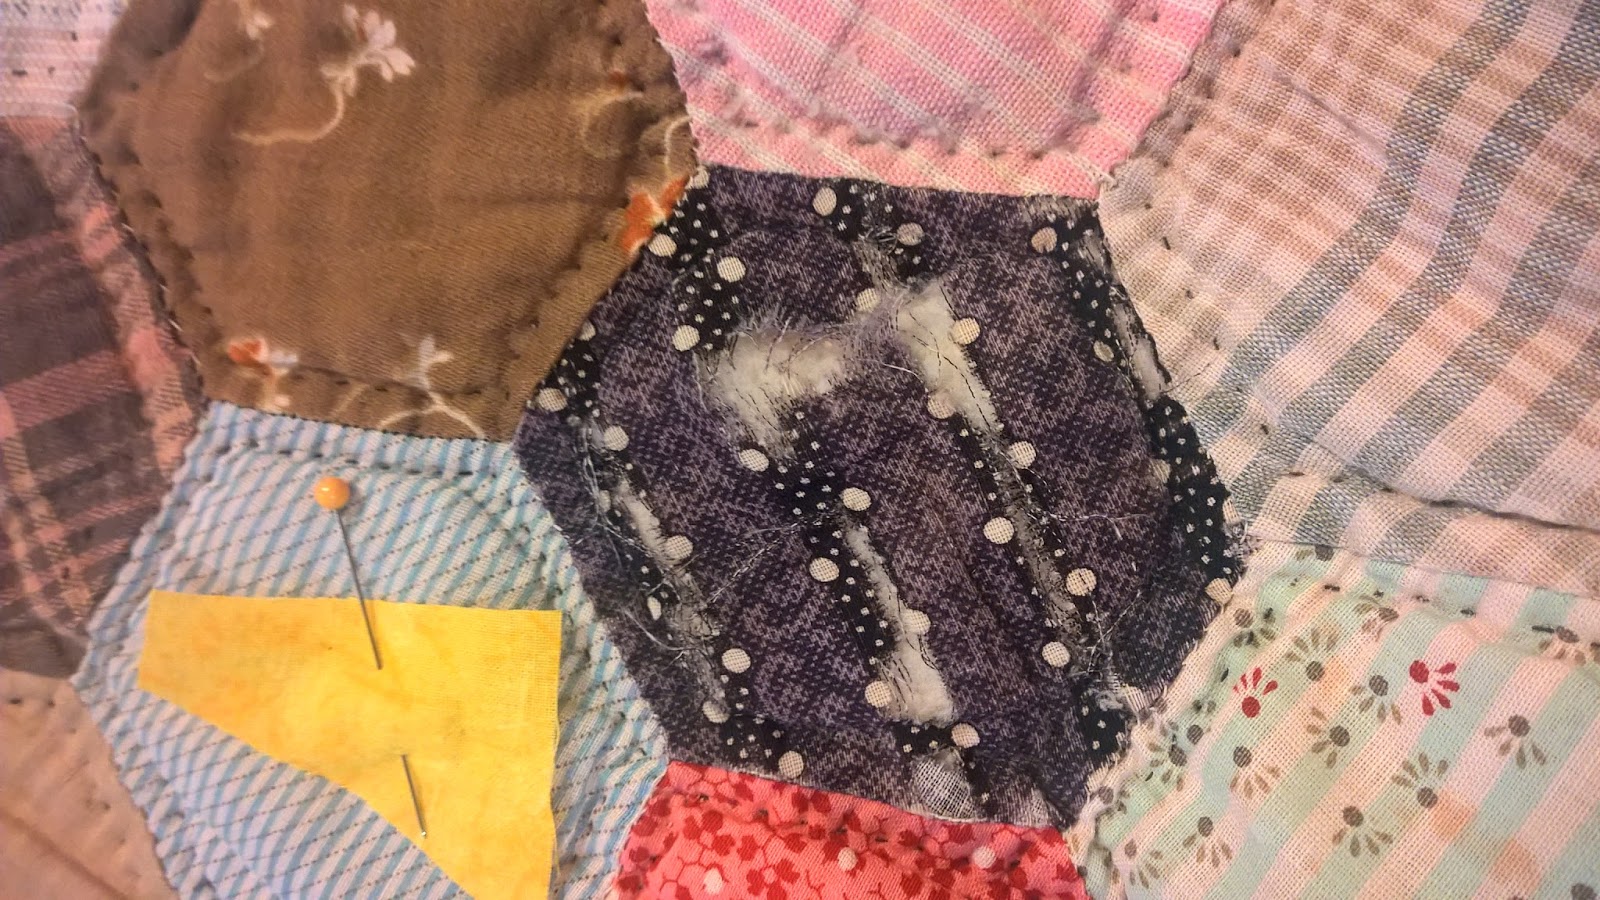
To begin, I marked the damaged patches with the yellow scraps to identify them all.
Then, I made a cardboard template the finished size and traced around with each fabric and adding seam allowances as I cut out.
When making the template, I considered the maker when deciding on a size. Of course measuring each one, a bit different, hmmmm. But if you think about it, whomever it was that made this did not use a slide rule or a micrometer to draft it. Guaranteed. Each patch was like some weird number across, like 2 5/8 or 2 7/8, because of course, she probably cut her template out of cardboard and just kept it in her scrap basket. Maybe she traced it out of a magazine. The edges wore down over time and time tracing around it. Also the quilting and the washing has drawn it in some. But I felt it would be an easy number. So I rounded up to 3" to allow the patch to draw up with the quilting.
It is good to keep on hand a selection of these types of fabrics, collected from here and there for just this type of occasion! If not an exact match, I tried to imitate the shade and style of the original as much as possible.


Once all the patches were cut and placed, I appliqued each one on, matching the points, and then quilted to match the original style of hand quilting.
A light (very light!) steam and pressing with the iron after that was just the thing to get the new patches to exactly blend in texture-wise.


I did keep the yellow markers on there as I went and until I returned the quilt to the customer.


Because even I had trouble finding them all.


A good sign of success!
I hope this was helpful to you!
Happy Sewing!
-Sarah
No comments:
Post a Comment